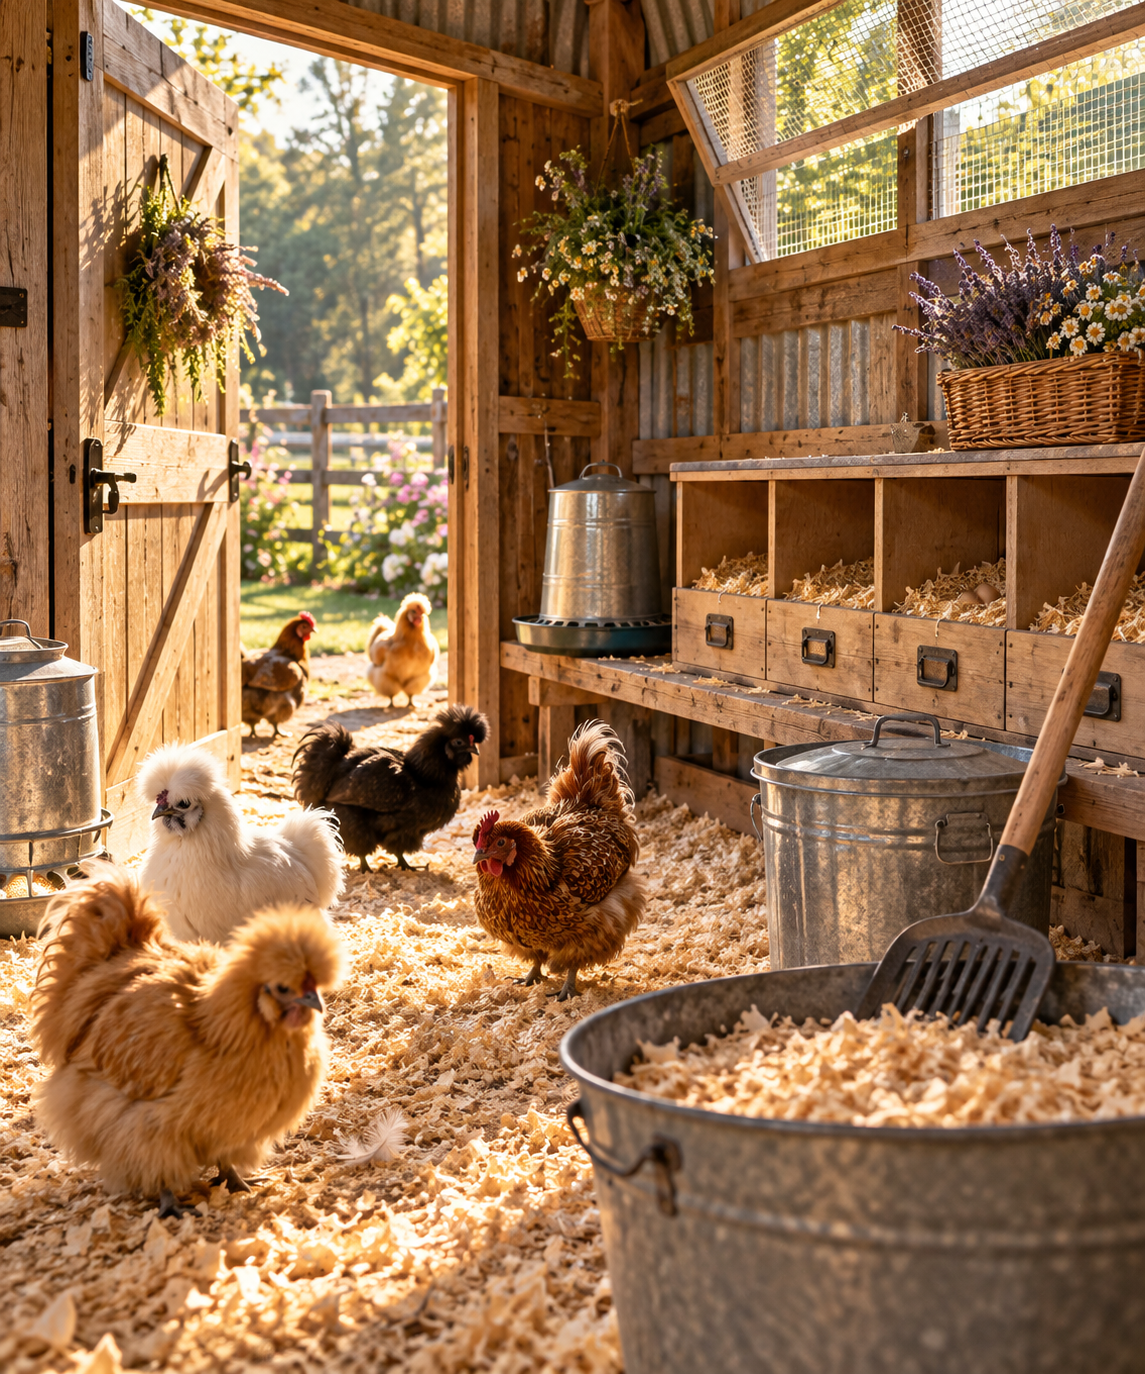
There’s a big difference between a chicken coop that smells like chickens and one that makes you want to hold your breath while you gather eggs. 😂
A little earthy, dusty, chicken-coop smell is normal.
A strong ammonia smell, sour wet bedding, or an odor you can smell before you even open the door usually means something in the coop needs attention.
And covering the smell with herbs or another nice scent isn’t really the answer.
The best way to keep a chicken coop smelling fresh is to figure out what’s causing the odor in the first place.
Most of the time, it comes down to a handful of very ordinary things: damp bedding, droppings building up beneath the roosts, spilled water, poor ventilation, old nesting material, or simply more chickens sharing a space than the coop can comfortably handle.
The good news is that you don’t need your chicken coop to be spotless every day—and you definitely don’t need it to smell like a flower shop. 😂
You just need a setup that stays reasonably dry, ventilated, and easy to maintain.
Here are 9 simple ways to keep a chicken coop smelling fresher while still keeping the routine realistic for someone who actually has chickens to take care of every day. ❤️🐔
1. Find the Source of the Smell First
Before adding fresh bedding or sprinkling anything around the coop, take a minute to figure out where the smell is actually coming from.
Different odors can point to different problems.
A sharp ammonia smell usually means droppings, moisture, or both are building up somewhere. A sour or musty smell may be coming from wet bedding. And sometimes the culprit is surprisingly simple—a leaking waterer, a broken egg hidden in a nesting box, damp feed, or one particularly messy spot beneath the roosts.
Walk through the coop and check the places that tend to collect moisture and droppings:
● Under the roosts
● Around the waterer
● Inside nesting boxes
● Corners where bedding gets packed down
● Around feeders
● Anywhere rain might be getting inside
You don’t necessarily need to clean the entire coop because one small area smells bad.
Sometimes removing a patch of wet bedding, scraping the droppings board, or fixing a dripping waterer solves most of the problem.
And this is why I wouldn’t reach for scented products first.
If something smells wrong, your nose may be telling you there’s a moisture, ventilation, or cleanliness problem worth finding.
Fix the cause first.
Then we can worry about making the coop smell nice. 😂❤️🐔
2. Keep the Bedding Dry
If there’s one thing that can turn a normal chicken-coop smell into a really unpleasant chicken-coop smell, it’s moisture.
Dry droppings are one thing.
Wet droppings mixed with damp bedding are an entirely different experience. 😂
Check the bedding regularly for damp areas, especially around waterers, beneath windows, near doors, and anywhere rain can blow into the coop.
You don’t necessarily have to replace all of the bedding every time you find a wet spot. If the rest is still dry and clean, scoop out the damp section and replace it with fresh bedding.
It’s also worth figuring out why that area became wet.
Is the waterer leaking? Is rain coming through a window? Is the roof dripping? Are the chickens constantly kicking bedding into the water and splashing it back out?
Fixing that little problem can save you from cleaning the same soggy corner over and over again.
Whatever bedding you prefer to use, the important part is that it stays reasonably dry and manageable in your particular coop.
Because when it comes to keeping a chicken coop smelling fresh, fancy products aren’t nearly as useful as something much simpler:
Keep the moisture under control. ❤️🐔
3. Improve the Ventilation
Sometimes a coop smells dirty when the bigger problem is actually stale, damp air.
Chickens release moisture when they breathe, and their droppings add even more. When that moisture gets trapped inside a closed-up coop, ammonia and humidity can build up surprisingly quickly.
That’s why good ventilation is important even when it’s cold outside.
Ideally, fresh air should be able to enter while warm, moist air escapes through openings higher in the coop, above where the chickens sleep. You want air exchange without a strong draft blowing directly across the birds on the roost.
Take a look at your coop when everyone is tucked in for the night.
Are the vents blocked by dust or cobwebs? Did you cover too many openings when the weather turned cold? Does condensation collect on the windows or walls?
Those can all be signs that the coop needs better airflow.
And if you open the door in the morning and get hit with a strong ammonia smell, don’t ignore it or try to cover it with something scented. Check the bedding and droppings, but also look at your ventilation.
A fresh-smelling coop doesn’t need perfume.
Sometimes it just needs to breathe. ❤️🐔
4. Clean Under the Roosts More Often
If there’s one place in the coop that can create a surprising amount of odor, it’s under the roosts.
Chickens spend hours sleeping in roughly the same spot every night—which means a large portion of their droppings ends up concentrated in one relatively small area.
Instead of waiting until the entire coop needs a deep clean, try giving that area a little more attention between full bedding changes.
If you have a droppings board or tray beneath the roosts, scrape it regularly. If you use bedding underneath instead, remove the heavily soiled portion and replace it with fresh material as needed.
This is one of those chores where a few minutes fairly often can prevent a much bigger job later.
It also gives you a chance to notice changes in your flock. While cleaning beneath the roosts isn’t exactly glamorous 😂, unusual droppings can sometimes be one of the first clues that a chicken isn’t feeling quite right.
And if your current roost setup makes cleaning underneath it nearly impossible, that’s worth changing.
A removable roost, droppings board, or simply better access can make an enormous difference.
5. Stop Waterers From Soaking the Bedding
Sometimes the smelliest spot in the entire coop isn’t underneath the roost.
It’s around the waterer. 😂
Chickens scratch bedding into it, bump it, drip water while drinking, and somehow manage to turn a perfectly dry patch of bedding into a soggy mess.
If you repeatedly find wet bedding around your waterer, try raising it slightly off the floor on a stable platform or hanging it at an appropriate height for your chickens. The goal is to keep bedding out while still making the water comfortable for every bird to reach.
Placement matters too.
If possible, keep the waterer somewhere that’s easy to clean around and away from the areas where your chickens sleep. Some setups work better with the main water source in a covered portion of the run rather than inside the coop itself.
Check for slow leaks as well. A tiny drip may not look like much, but over several hours it can soak the bedding underneath.
And don’t just keep piling fresh bedding over a wet spot.
Remove the damp material first and let the area dry if needed before replacing it.
Keeping drinking water in the waterer instead of in the bedding is one of the simplest ways to keep the whole coop fresher. ❤️🐔

6. Don’t Let Feed and Treats Pile Up
Chicken feed can contribute to coop odor too—especially when it gets wet, buried in bedding, or forgotten in corners.
Chickens aren’t exactly tidy eaters. 😂
They scratch feed out of bowls, fling treats around, and leave little bits behind. Once that food mixes with moisture and droppings, it can start to smell, attract flies, and encourage rodents.
Take a quick look around the feeder whenever you’re doing your regular coop chores. Sweep or scoop up large amounts of spilled feed instead of continually covering them with fresh bedding.
The feeder itself can make a difference too.
A feeder that keeps getting knocked over or constantly fills with bedding may simply not be working well for your setup. Raising it slightly, hanging it securely, or switching to a wall-mounted or no-waste style feeder can help keep more feed where it belongs.
Treats deserve a little attention as well.
It’s fun to toss something special to the chickens, but give them an amount they’ll actually finish rather than leaving piles of food sitting around overnight.
The goal isn’t a perfectly crumb-free chicken coop.
With chickens, we’d be waiting forever. 😂
It’s simply to keep old, damp food from becoming part of the bedding—and part of the smell. ❤️🐔
7. Freshen Nesting Boxes Regularly
Nesting boxes are easy to overlook because they usually don’t get as messy as the floor or the area beneath the roosts.
But every once in a while, you’ll reach into one and think, “Well…something happened in here.” 😂
Broken eggs, droppings, damp nesting material, muddy feet, and the occasional hen who decides the nesting box is also her bedroom can all create odors.
When you collect eggs, give the boxes a quick glance. Remove anything wet or heavily soiled and add fresh nesting material when needed.
This is also where nesting-box herbs can be a nice extra.
Dried herbs such as lavender, mint, rosemary, or other chicken-safe nesting herbs can add a pleasant scent and make freshly cleaned nesting boxes feel especially nice.
Just remember that herbs are the finishing touch—not the cleaning method.
If the bedding underneath them is damp or dirty, adding something that smells good is basically the chicken-coop version of spraying perfume over dirty laundry. 😂
Clean first. Herbs second.
That way the nesting boxes aren’t just smelling fresh.
They’re actually fresh. ❤️🐔
Want a little finishing touch for freshly cleaned nesting boxes? Dried nesting-box herbs can add a pleasant scent once the dirty bedding and moisture have already been taken care of.

8. Pay Attention to How Many Chickens Share the Space
Sometimes a coop smells despite regular cleaning because there are simply a lot of chickens producing moisture and droppings in a relatively small space.
The more birds sleeping in one area, the faster bedding becomes soiled and the more important ventilation and frequent spot-cleaning become.
That doesn’t automatically mean you need a bigger coop.
Start by looking at how the space is actually being used. Do all of the chickens crowd onto one section of the roost? Are certain corners constantly damp or dirty? Is there enough room for everyone to settle comfortably at night without piling on top of one another?
And with Silkies, things can look a little different.
Some Silkies may happily use a low roost, while others decide the floor is clearly superior and form their famous little cuddle puddle instead. 😂 If several birds regularly sleep on the floor, that area may need fresh bedding and spot-cleaning more often than you’d expect.
Rather than relying on one perfect number for every flock, pay attention to what your own coop is telling you.
If bedding becomes dirty extremely quickly, moisture is difficult to control, ammonia keeps returning despite cleaning and good airflow, or the chickens seem crowded, the space may be working harder than it should.
Sometimes keeping a coop fresher isn’t about finding a better deodorizer.
It’s about making sure the number of chickens and the space they’re living in work well together. ❤️🐔
9. Create a Cleaning Routine That Fits Your Coop
There is no single chicken-coop cleaning schedule that works perfectly for everyone.
A small coop with several chickens may need attention more often than a larger, well-ventilated setup. Rainy weather can change things. Summer heat can change things. A flock that suddenly decides to sleep somewhere new can definitely change things. 😂
Instead of trying to follow somebody else’s exact schedule, create a simple routine based on what gets dirty fastest in your own coop.
That might mean doing a few tiny jobs regularly:
● Scoop heavily soiled bedding when you notice it.
● Scrape underneath the roosts before droppings build up.
● Check the water area for damp bedding.
● Remove dirty nesting material.
● Sweep up spilled feed.
● Add fresh bedding when it’s actually needed.
Then save the bigger clean-outs for when the coop needs them.
This approach can actually be easier than letting everything build up until you’re facing one enormous cleaning day.
And your nose is a pretty useful part of the routine.
If you suddenly notice a stronger smell than usual, don’t automatically assume the entire coop needs to be stripped. Take a quick look around and find out what changed.
Maybe the waterer leaked.
Maybe we’ve had several damp days.
Maybe everyone decided that one particular corner was the perfect place to sleep. Because chickens. 😂
The goal isn’t to keep a chicken coop perfectly clean every minute of the day.
It’s to create a routine that’s simple enough to maintain consistently so moisture, droppings, and old bedding don’t get the chance to become a much bigger problem.
A little maintenance along the way can save you a whole lot of shoveling later. ❤️🐔
Want a little extra freshness after cleaning? Once you’ve taken care of wet bedding, droppings, and ventilation, a coop refresher can be a nice finishing touch. This Lavender & Chamomile coop refresher is an easy option to add to your regular cleaning routine.
A Fresh Chicken Coop Doesn’t Have to Smell Like Flowers
A chicken coop is still a chicken coop.
It’s going to have feathers, dust, bedding, droppings, and chickens doing all the wonderfully messy things chickens do. 😂
So the goal isn’t to make it smell like your house.
The goal is simply to keep it dry, well ventilated, reasonably clean, and comfortable for your flock.
If you notice an unpleasant smell, start with the basics.
Look for wet bedding. Check underneath the roosts. Make sure the waterer isn’t leaking. Clean out old feed and dirty nesting material. Check the ventilation.
Most of the time, the solution isn’t complicated.
And once everything is clean and dry, then you can add those little extras—like fresh nesting material or a handful of dried herbs—that make walking into the coop a little nicer.
You don’t need a spotless Pinterest-perfect chicken coop.
You just need one that’s healthy for your chickens and manageable for you to maintain.
And if it happens to smell pretty good, too?
We’ll call that a win. 😂❤️🐔
Looking for more practical chicken-keeping favorites? From coop supplies and feeding essentials to enrichment, treats, and everyday flock-care finds, I’ve gathered my favorites in one place.
Leave a Reply